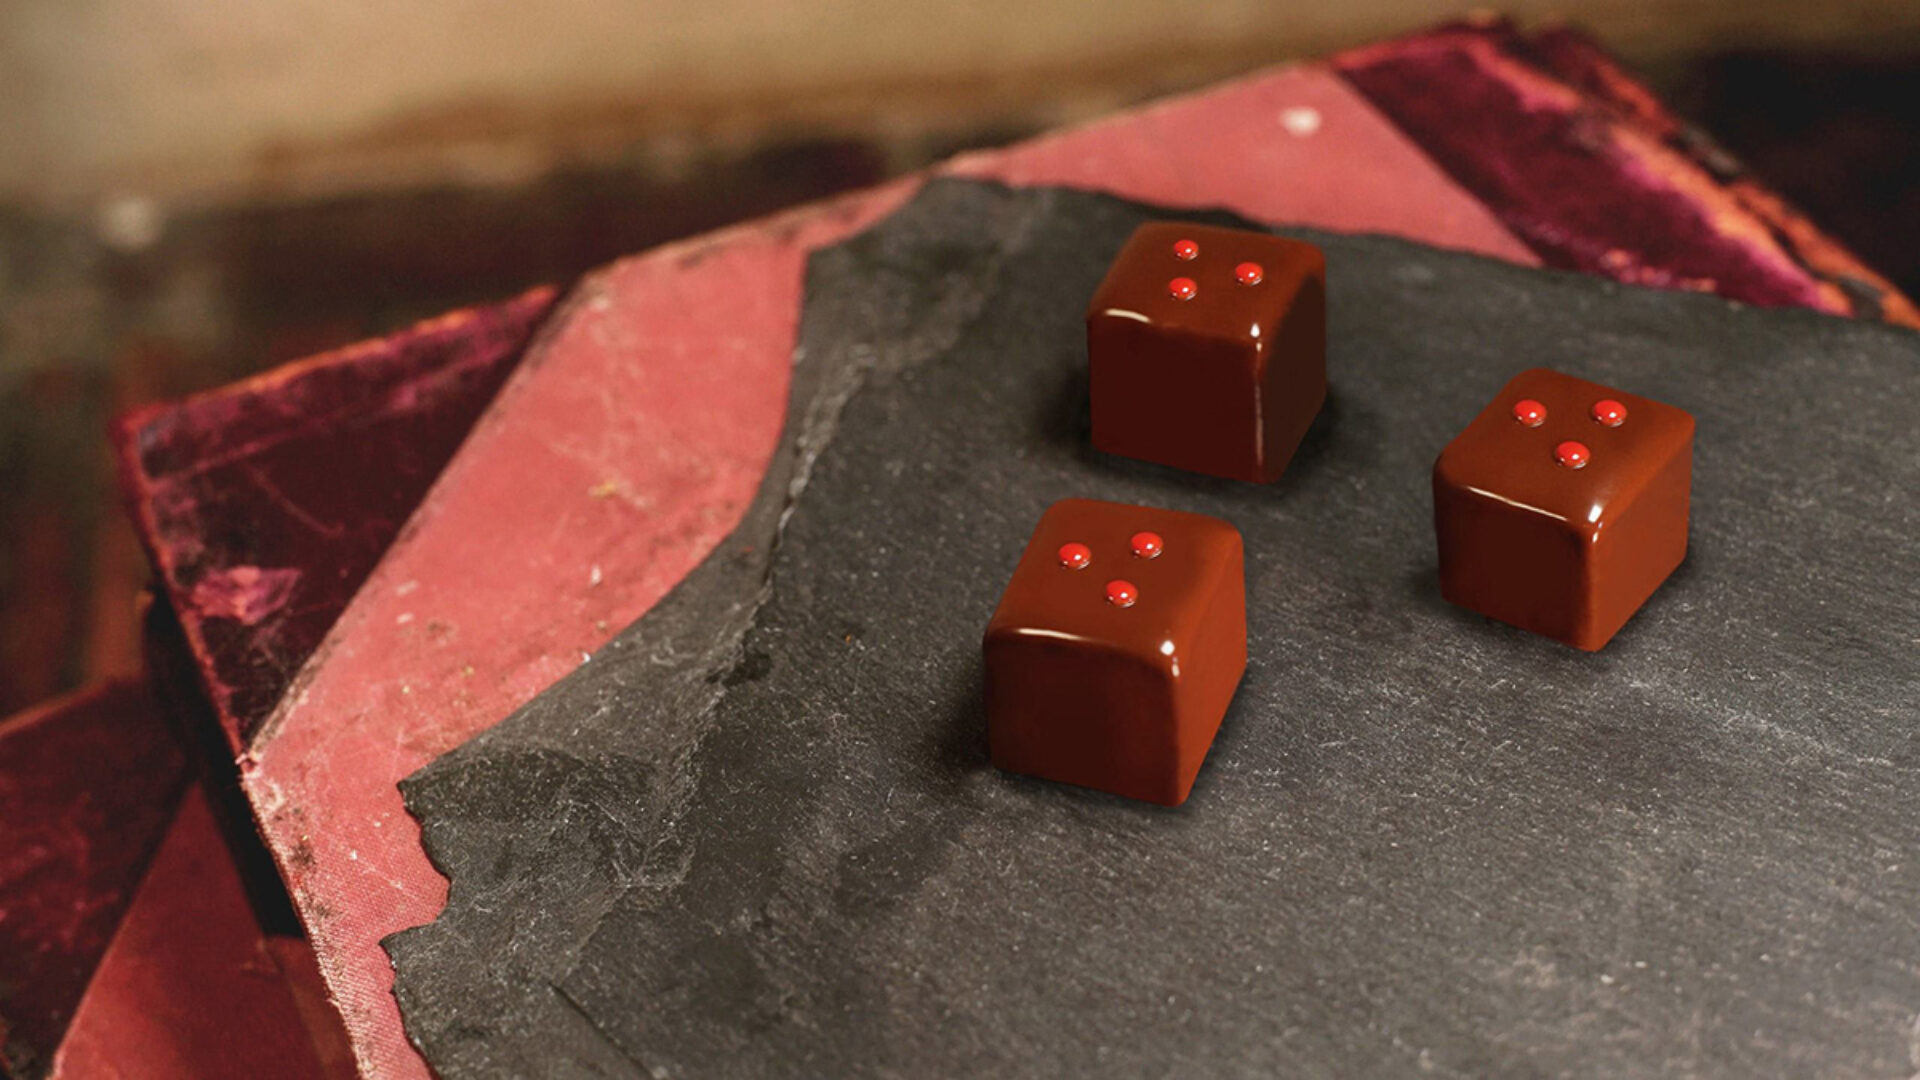
Three tips for chocolates with the perfect shine and texture
story by Recipe by Veliche™
Under the current unusual circumstances, you may have some time on your hands. Why not use this to work on refining your extra delicious creations? For chocolatiers, one of the trickiest things to get right is tempering. During this process, chocolate solidifies into a stable form. Tempering gives chocolate an attractive gloss and reduces the risk of discoloration and fat bloom. After tempering and a cooling period, chocolate becomes stable and ready to eat or process. In this blog we’d like to share three tips for perfectly shiny, snappy, tasty chocolates.
Tip 1: follow the tempering curve
Each type of chocolate – dark, milk or white – has its own tempering curve. When chocolate is melted, the bonds between molecules are deconstructed and when the chocolate solidifies again, these bonds aren’t reformed exactly as before. Tempering allows you to carefully control the temperature of the chocolate, which prevents the crystals in the cocoa butter from crystallizing. This crystallization is the reason that chocolate ends up looking dull or feels too soft. This is something you definitely want to prevent.
By carefully managing the tempering process, you can get the molecules to reconfigure exactly as you want them, thereby ensuring the right colour, consistency and flavour.A tempering curve indicates the temperature at which the three different phases of the tempering process take place. Veliche™ Gourmet packaging lists the crystallization curve for the chocolate inside. Follow this precisely, and you will get the perfect bite and shine every time. By following the curve, you prevent the chocolate from under- or over-crystallizing. This is one of the most common chocolate tempering mistakes and leads to dull spots. Is your chocolate over-crystallised, making it sticky and difficult to work with? Achieve the desired amount of cocoa butter crystals and make the chocolate workable again by melting excess cocoa butter crystals or adding untempered melted chocolate.
Tip 2: avoid a temperature shock during the cooling process
If you expose your melted chocolates to a temperature that is too low, making them cool down too quickly, the chocolates will harden too fast and dull spots will appear. Therefore, it’s best to store melted chocolate for two hours in the refrigerator – and not in the freezer.
Tip 3: choose chocolate with the right viscosity
A common problem is the fact that chocolate does not shrink sufficiently, and isn’t liquid enough, making it difficult to extract from a mould. Therefore, it’s best to use chocolate with a high level of viscosity, containing more cocoa butter. The exact degree of viscosity also depends on the specific application the chef has in mind.
Follow @velichegourmet on Instagram and Facebook and share your perfect chocolate bonbons with #velichegourmet